Week 10: Mechanical Design and Machine Design
The assignment:
This week is only a group assignemt: Design a machine that includes mechanism+actuation+automation+application Build the mechanical parts and operate it manually.
I came into the group when it was already decided to make a “Pottery wheel”. I didnt know much about it, but made some research to get a hold of the idea of a pottery wheels. Some of the ideas looked like this:
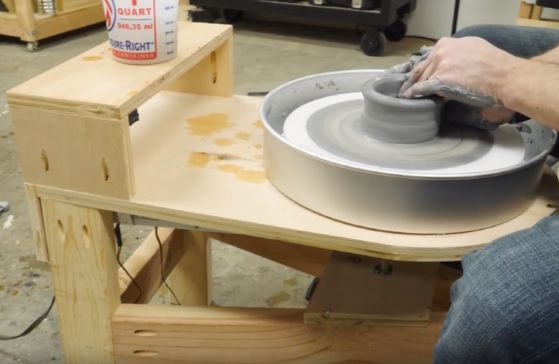 |
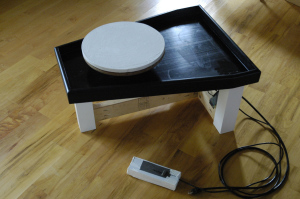 |
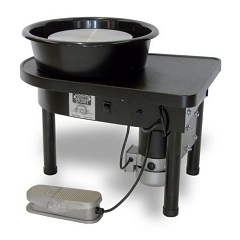 |
Along with the testing and building we kept track of the components we used:
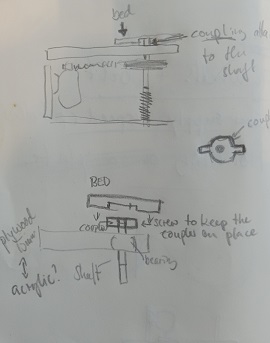
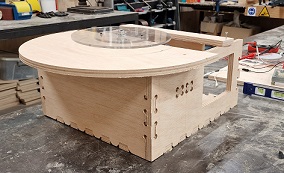
For the baseframe we ended up using 14mm plywood with these imensions: width: 430mm, depth: 400, Height: 200mm
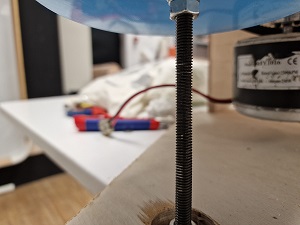
Threated metal shaft for the wheelhead had a diameter of 9,85 mm
For the main wheelhead on top of the shaft to place the bat on we used 5,4 mm Acrylic and cut 2 circles held together with screws.
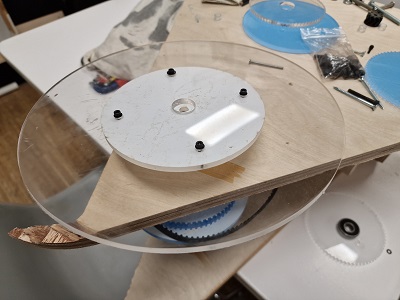
Circle 1. Diameter: 252 mm and Circle 2. Diameter: 134mm
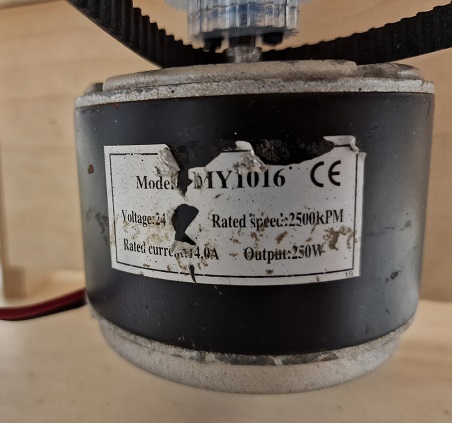
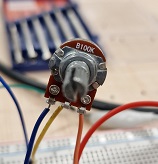
For a motor we used a 24 volt 350W output. Normally used for electric scooter or bike motor. This motor is capable of rotation in either the clockwise or counter clockwise direction by just reversing the battery polarity to the motor and can be speed controlled.
For bearings we used 2 bearings for rotation (one in top base on in the bottom of the shaft): 6200 – 2RS.
See the datasheet of the bearings here: And 4 bearings with 3D printed holder to keep the wheelplate in level. See the datasheet of the bearings here: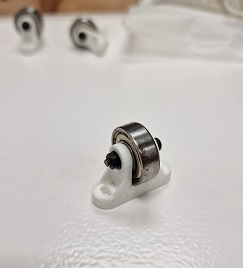
the file for the bearing holder
For the powersupply we used: LRS-100-24.
See the datasheet of the powersupply here: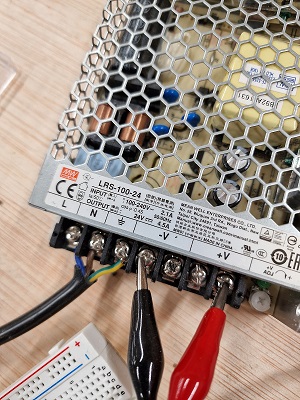
The video for presenting the process was made with Camtasia software and the storyboard was supposed to show the process: 1. Ideas 2. Inspiration 3.design 4 building, making and testing 5. The different prototypes and a last the working prototype
See the video here: